
An open source framework inspired by Tornado, Sinatra and Flask for building web applications using idiomatic Go
Rationale – Do we really need another web framework?
I ask myself this question every time i’m lured by the next bright and shiny thing which comes along. There’s going to be some effort which goes into the learning curve and in the end, the payback should be substantially more than the upfront investment. Here’s some of the issues I consider when determining whether to commit to learning some new framework or technology:
- A framework in general should give you a boost in velocity for getting important work done.
- Good frameworks put the scaffolding in place needed to solve complex patterns.
- They get out of the way, allowing you to focus on the business logic needed for your solution.
- Good frameworks should be secure and extensible.
- There should be vibrant community support, ongoing activity and adoption by projects.
With these top level goals in mind, lets see if the Beego Framework can get you up and running quickly and have some fun at the same time.
Prerequisites
You’ll need to have Go installed and GOPATH configured so you can build and install Go applications and packages. If you’re not sure how to do this and wish to continue, start here.
Installation
Run these commands to install the Beego framework and the Command Line Interface (CLI) project tool.
# Install Beego framework
$ go get github.com/astaxie/beego

# Install the CLI
$ go get github.com/beego/bee
We’re going to create a web application in Go using the Beego Framework. To give you an idea of the simplicity of creating a web application in Beego, we’ll create a site using one line of code in the main function.
Spoiler alert
Here’s the page you’ll get when you browse the website. Although you’ll get a 404 not found error when you visit the home page, the web site is up and running and you connected to it, it just doesn’t have home page (yet).
http://localhost:8080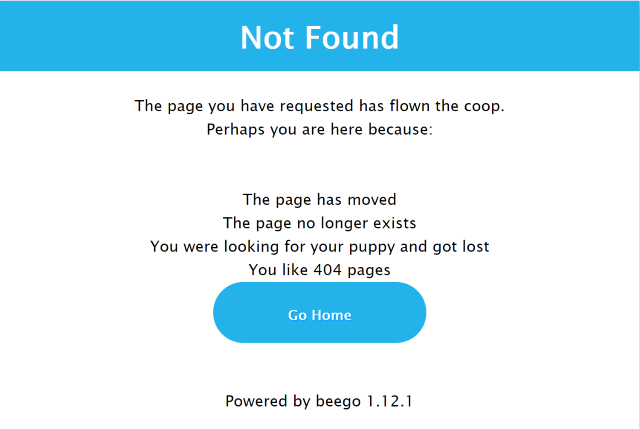
Hope this spoiler alert didn’t ruin the fun. Let’s take a look now at the code you’ll need to create this simple site. Create the main.go application below and run the application using the command shown in the comments below.
Default website using Beego Framework
// Filename: main.go
// Run: go run main.go

package main

import "github.com/astaxie/beego"

func main() {
	beego.Run()
}
With the demonstration of a simple web application creation completed, lets explore the Beego Framework a little deeper. If you’re familiar with the Model View Controller (MVC) web pattern than you probably have enough background to get started with Beego. The main event loop waits for connections and hands off eachroute requests to the controller which may interact with an ORM. Views are rendered by a template engine are returned to the requester.
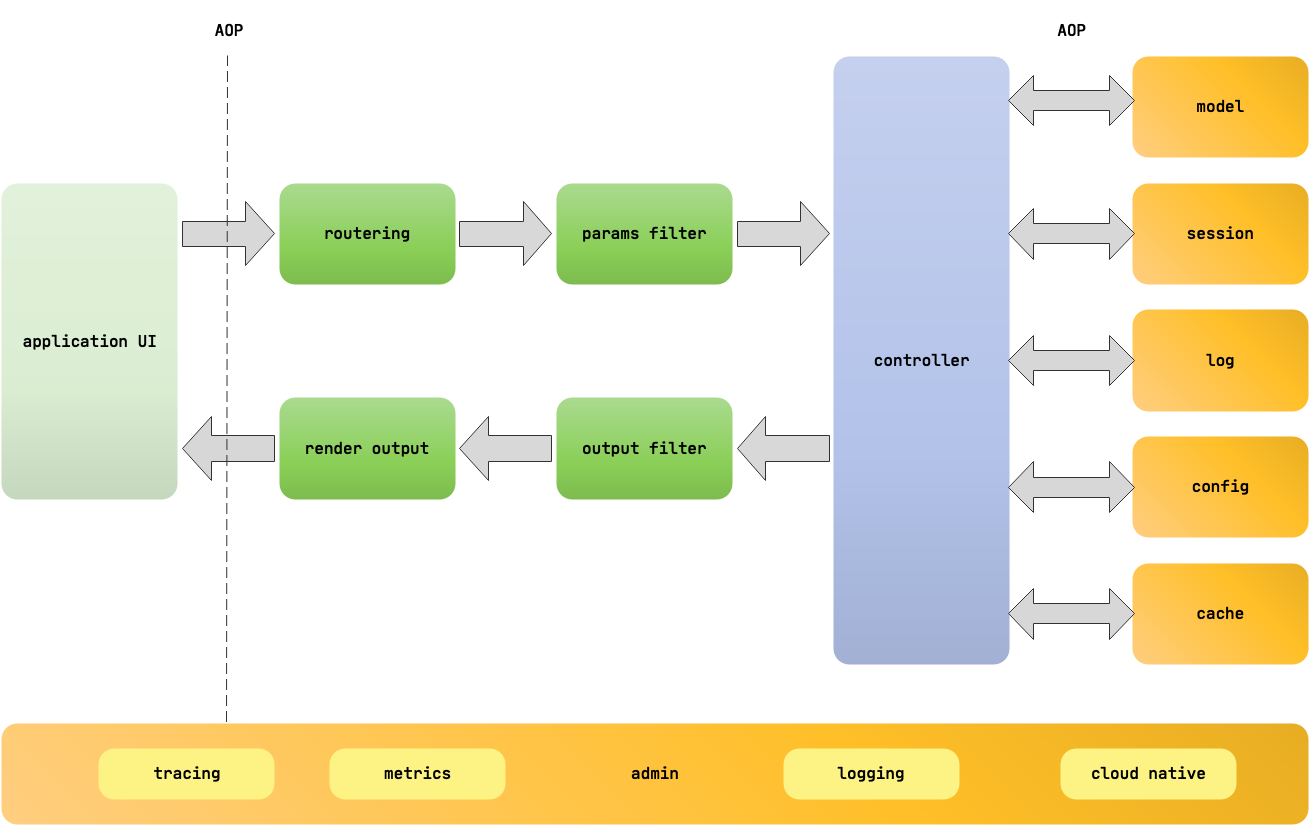
Rendered views can be HTML pages or JSON payloads. Beego may be responding as a Web Server or acting in the role of a high performance API server. Using the CLI we installed earlier, lets generate a new project and see how it differs from our first website example.
Create a new project with the bee CLI
# windows: cd %GOPATH%\src\github.com\mjd
#   linux: cd $GOPATH/src/github.com/mjd
# Create a new web project, i'll be using my project src tree, change this for yours
$ bee new bee-web-gs
The CLI will generate a number of default folders to help you get started. There will be top level folders for models, views and controllers as well as folders for routes, configuration and web support.
Folder structure created by bee CLI
myproject
├── conf
│   └── app.conf
├── controllers
│   └── default.go
├── main.go
├── models
├── routers
│   └── router.go
├── static
│   ├── css
│   ├── img
│   └── js
├── tests
│   └── default_test.go
└── views
    └── index.tpl
You can also use the CLI to run the project, when you do it will watch for changes you make and reload the website automatically.
Note: when I tried running the code above generated by the CLI I got the same 404 error we saw earlier. To resolve it, I had to tell the main function where to find the router config, see sample below.
package main

// added import below for beego to find router
//   _ "github.com/mjd/bee-web-gs/routers"
import (
	_ "github.com/mjd/bee-web-gs/routers"
	"github.com/astaxie/beego"
)

func main() {
	beego.Run()
}
Run the generated code
# run using the CLI
$ bee run
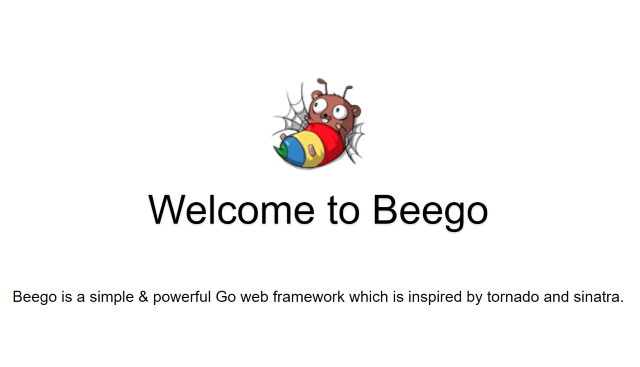
# view home page in the browser
http://localhost:8080/This time when you browse to the home page you should see the welcome banner below. The basic project scaffolding has created a route for you to reach the controller and renders an HTML view from a Go template file which is returned to the browser. The hooks are in place for interacting with a backend data model, but those decisions are left for you.
To add an additional route which handles separate concerns, you would create a new controller and reference the controller from the router. In the example below we’ll reuse the example index.tpm and override to template parameters with our own. In the real world, you might instead create a Single Page Application (SPA), but that process would lead us down a completely different path, instead we’ll constrain our focus.
Adding a new controller
// Adding a new Controller to handle routes to /foo
// controllers/foo.go
package controllers

import (
	"github.com/astaxie/beego"
)

type FooController struct {
	beego.Controller
}

func (c *FooController) Get() {
	print("Invoke Foo controller")
	c.Data["Website"] = "Bestow.info"
	c.Data["Email"] = "support@Bestow.info"
	c.TplName = "index.tpl"
}
We would bind to our new controller by adding it’s reference to the router.go file.
Adding Router binding
// routes/router.go

// snippet shows addition of reference to foo controller in init()
func init() {
    beego.Router("/", &controllers.MainController{})
    beego.Router("/foo", &controllers.FooController{})
}
With the new route in place you can browse to /foo and see the new properties rendered at the bottom of the page, that we injected into the index.tpl file.
One area where Beego stands out from other frameworks is with it’s out of the box support for dashboard analytics. You can enable an Admin dashboard by adding these parameters to the app.conf file.
# enable admin dashboard in conf/app.conf
EnableAdmin = true
AdminAddr = "localhost"
AdminPort = 8088
When the server restarts you’ll see the Admin server running on the AdminPort number you configured above. When you browse to the Admin server you’ll be able to review Health Check and other vital stats for the running server.
Browse to Admin dashboard
http://localhost:8088/qpsAPI Scaffolding
Create a new API project with Beego CLI
Lets create a new Beego scaffolding for an API project. Change your directory to a location you would like the new project created in and use the CLI to create the project artifacts.
# create a new API project
$ bee api bee-api-gs

# change into the project folder and run the project
$ cd bee-api-gs
$ bee run
Like with the earlier Web project, the folder structure will be similar, but with no need for the static and views folders.
With the project running you can start playing with it by sending JSON REST commands. You can use curl if you like, I prefer httpie and will show a few interactions below.
API GET Request
# Start with a GET request
$ http :8080/v1/user
HTTP/1.1 200 OK
Content-Length: 230
Content-Type: application/json; charset=utf-8
Date: Thu, 30 Apr 2020 21:23:46 GMT
Server: beegoServer:1.12.1

{
    "user_11111": {
        "Id": "user_11111",
        "Password": "11111",
        "Profile": {
            "Address": "Singapore",
            "Age": 20,
            "Email": "astaxie@gmail.com",
            "Gender": "male"
        },
        "Username": "astaxie"
    }
}
API PUT Request
# now change the passsword
$ http PUT :8080/v1/user/user_11111 Password="24689"
HTTP/1.1 200 OK
Content-Length: 190
Content-Type: application/json; charset=utf-8
Date: Thu, 30 Apr 2020 22:34:17 GMT
Server: beegoServer:1.12.1

{
    "Id": "user_11111",
    "Password": "24689",
    "Profile": {
        "Address": "Singapore",
        "Age": 20,
        "Email": "astaxie@gmail.com",
        "Gender": "male"
    },
    "Username": "astaxie"
}
API POST Request
# Create new user
$ http POST :8080/v1/user Id=user_1357 Password="24689" Username=Foo
HTTP/1.1 200 OK
Content-Length: 39
Content-Type: application/json; charset=utf-8
Date: Thu, 30 Apr 2020 22:36:29 GMT
Server: beegoServer:1.12.1

{
    "uid": "user_1588286189531666600"
}

# GET user by ID
$ http :8080/v1/user/user_1588286189531666600
HTTP/1.1 200 OK
Content-Length: 169
Content-Type: application/json; charset=utf-8
Date: Thu, 30 Apr 2020 22:37:38 GMT
Server: beegoServer:1.12.1

{
    "Id": "user_1588286189531666600",
    "Password": "24689",
    "Profile": {
        "Address": "",
        "Age": 0,
        "Email": "",
        "Gender": ""
    },
    "Username": "Foo"
}
API DELETE Request
# Delete by ID
$ http DELETE :8080/v1/user/user_1588286189531666600
HTTP/1.1 200 OK
Content-Length: 17
Content-Type: application/json; charset=utf-8
Date: Thu, 30 Apr 2020 22:39:06 GMT
Server: beegoServer:1.12.1

"delete success!"
There we have it, a fairly complete API scaffold with very little work on our part.
Next lets generate and view Swagger doc for the API’s we created.
Swagger DOC
# Pass parameters to generate swagger doc
$ bee run -downdoc=true -gendoc=true

# To view swagger doc browse to:
http://localhost:8080/swagger/
Extensions
The following middleware extensions are available for Beego
- casbin RBAC ACL plugin
- Keen IO Analytics middleware
- New Relic plugin
- Pongo2 templating engine middleware
Community Support
As of this post, there appears to be fairly regular commit’s to the Beego repository, over 3500 to date by about 300 contributors and the repo is trending toward 24K stars.
Due to it’s high performance, clean code and ease of use there seems to be a growing interest to integrate the framework into cloud applications. A recent one which I reviewed is the CCNF Harbor Project.
Strong community interest is a good sign that a project may be around for a while and worth your consideration and investment.
Summary
With the Beego Framework we’re able to rapidly create the scaffolding needed to build serious Web and REST API applications. The framework is built using Go, a relatively new language which is easy to learn and was built to solve common problems encountered in Cloud Computing. The scaffolding comes with built a built in analytics dashboard to give you insights into operations. It’s an active project and seems to have an enthusiastic community and growing project support.
References
Mitch Dresdner
Mitch enjoys tinkering with tech across a wide range of disciplines. He loves learning new things and sharing his interests. His work interests run the gamut of: application integration, scalable secure clusters, embedded systems, and user interfaces. After hours you might find him dabbling in the hobby space with Raspberry Pi's, drones, photography, home wine making and other ferments.