Patching your UEFI and BIOS firmware on a Linux system can be challenging. One simple way you can accomplish this is by using FreeDoS.
Prerequisites
I’ll expect you’ll know the basic differences between BIOS and UEFI. UEFI is the successor to BIOS responsible for booting your computer and providing the hardware interface to devices. UEFI has a richer feature set than BIOS and improved security. In the sections below when I say BIOS, consider it synonymous to UEFI.
Before we begin let’s get a few warning out of the way. Some of the techniques described below may have serious unintended consequences.

Flashing a BIOS should never be undertaken lightly, a little mistake can brick your machine, which may not be recoverable. If you’re not sure what you’re doing and don’t have the time to learn, this may be a good point to stop reading.

The procedure which follows is intended to provide you with a tool for flashing a BIOS. This tools is just one part of the job. Your BIOS vendor also provides a tool which will inject new software into the system which is responsible for starting your computer and controlling devices. It’s up to you to understand how the vendors tool works.
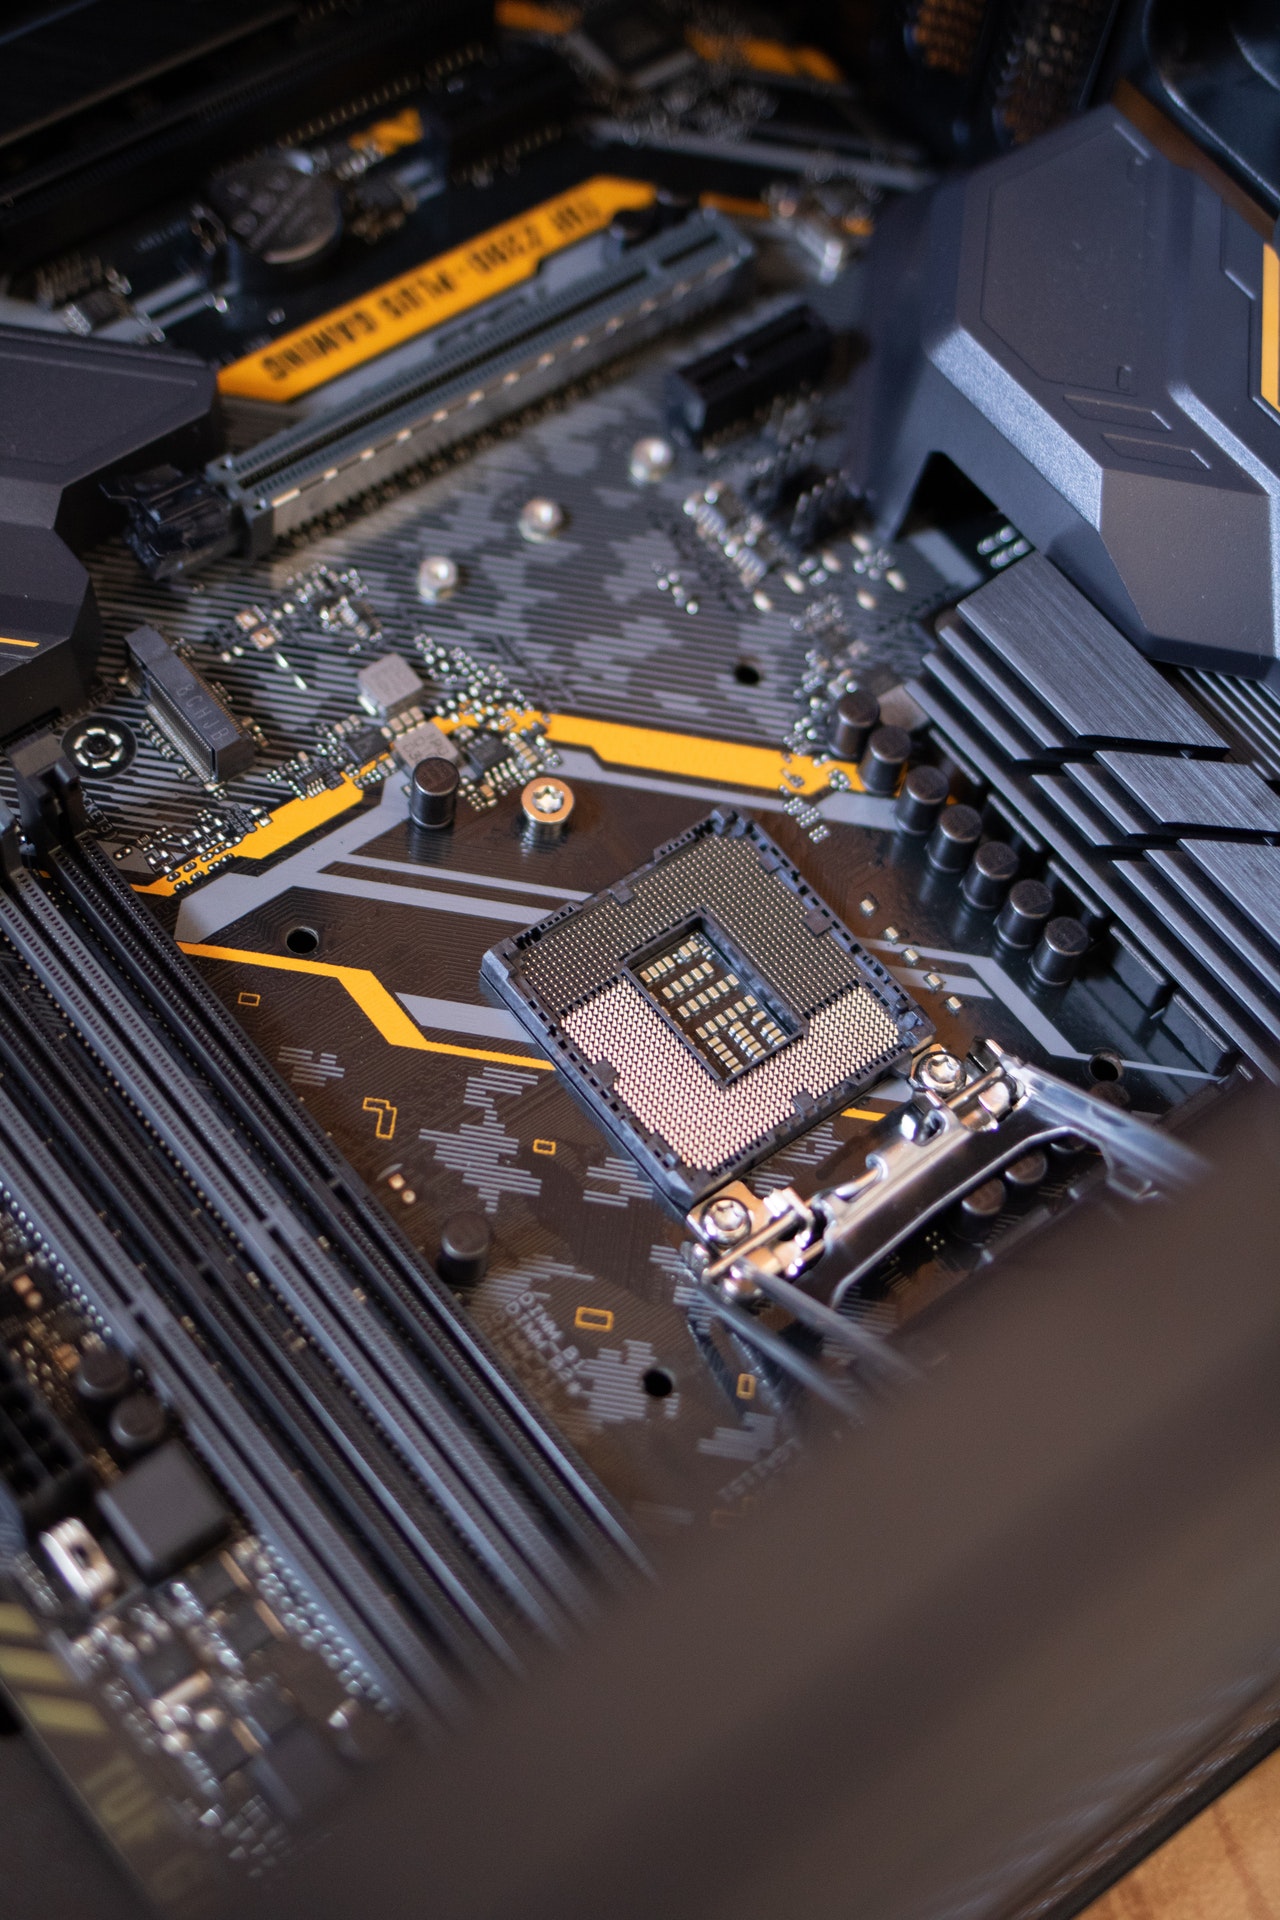
With the caveats out of the way, lets see how you might go about doing it. My own desktop is about 10 years old now, it has an MSI motherboard, a dual core AMD processor and 4G of RAM. Ok, so it’s not quite as fast as my Raspberry Pi 4, but running Linux Mint Cinnamon version 20 it can still be a useful machine.
Running Mint and previous Ubuntu versions I noticed a quirk where the desktop would rasterize. The BIOS was reserving 64M of system memory for the embedded Nvidia motherboard video chip. The Linux driver was probably not honoring the memory reserved by the BIOS and likely stomping on the same, causing the raster effect. Disabling the BIOS memory reservation to the video chip made the problem less frequent, but didn’t eliminate it entirely.
As a possible solution I contemplated loading the most recent MSI BIOS release. With every new solution comes new takeoff’s. When running a Linux system, there’s not easy way to flash the BIOS. Vendors typically provide a Windows .EXE file to flash the BIOS. I tried some of the Windows emulation programs in Linux, but each failed for different reasons.
What I needed was a way to boot my machine into DOS, flash the BIOS and return to the normal hard drive Linux boot with the upgrade applied. It seemed like a perfect solution for booting from a USB thumb drive running a DOS ISO image. For my DOS ISO I decided on FreeDoS 1.2. Earlier adopters that came before me recommended a USB ISO installer called Rufus, so I downloaded both and proceeded.

Running Rufus was easy and intuitive.
You’ll select the ISO for the FreeDoS image you downloaded and unzipped and that’s about all there is to it.
The toughest decision was the wasted 31.5GB of thumb drive space. The FreeDoS image itself only takes about .5GB, so the rest is wasted. You could probably partition the drive and use the rest for some sort of backup storage, but the 32GB USB3 drive was only $6.99 on Amazon. It’s about the price of an average sandwich. The same principle applies: eat once, digest, gone.
Once you’ve imaged the drive there’s a few files you’ll need to tweak. The FreeDoS image is designed to install on another target. Instead, you’ll override the defaul behavior to make the USB drive the bootable target. To accomplish this, you’ll need to move the setup directory from D:\FDSETUP\BIN to D:\BIN.
Next, edit D:\FDCONFIG.SYS and D:\AUTOEXEC.BAT to remove references to the FDSETUP folder. The Autoexec file is hidden, but if you type the name in your editor while opening the file it will read it in. I’ve provided the tweaks for your review or use below.
FDCONFIG.SYS
!COUNTRY=001,858:\FDSetup\BIN\COUNTRY.SYS
!LASTDRIVE=Z
!BUFFERS=20
!FILES=40

DOS=HIGH
DOS=UMB
DOSDATA=UMB

DEVICE=\BIN\HIMEMX.EXE
SHELLHIGH=COMMAND.COM \BIN /E:2048 /P=\AUTOEXEC.BAT
AUTOEXEC.BAT
@echo off
SET OS_NAME=FreeDoS
SET OS_VERSION=1.2
SET DOSDIR=
SET LANG=EN
SET PATH=%dosdir%\BIN;\GNU\bin;QEDIT

SET DIRCMD=/P /OGN /Y

SET TEMP=%dosdir%\TEMP
SET TMP=%TEMP%

rem SET NLSPATH=%dosdir%\NLS
rem SET HELPPATH=%dosdir%\HELP
rem SET BLASTER=A220 I5 D1 H5 P330
rem SET COPYCMD=/-Y

DEVLOAD /H /Q %dosdir%\BIN\UDVD2.SYS /D:FDCD0001

SHSUCDX /QQ /D3

rem SHSUCDHD /QQ /F:FDBOOTCD.ISO

FDAPM APMDOS

rem SHARE

rem NLSFUNC %dosdir%\BIN\COUNTRY.SYS
rem DISPLAY CON=(EGA),858,2)
rem MODE CON CP PREP=((858) %dosdir%\CPI\EGA.CPX)
rem KEYB US,858,%dosdir%\bin\keyboard.sys
rem CHCP 858
rem PCNTPK INT=0x60
rem DHCP
rem MOUSE

rem DEVLOAD /H /Q %dosdir%\BIN\UIDE.SYS /H /D:FDCD0001 /S5

SHSUCDX /QQ /~ /D:?SHSU-CDR,D /D:?SHSU-CDH,D /D:?FDCD0001,D /D:?FDCD0002,D /D:?FDCD0003,D

rem MEM /C /N

SHSUCDX /D

rem DOSLFN

rem LBACACHE.COM buf 20 flop

SET AUTOFILE=%0
SET CFGFILE=\FDCONFIG.SYS
alias reboot=fdapm warmboot
alias reset=fdisk /reboot
alias halt=fdapm poweroff
alias shutdown=fdapm poweroff

rem alias cfg=edit %cfgfile%
rem alias auto=edit %0
rem goto SkipLanguageData

rem ***** Language specific text data.
rem English (EN)
set AUTO_HELP=Type /fWhite Help /fGray to get support on commands and navigation.
set AUTO_WELCOME=Welcome to /fGreen %OS_NAME% /fCyan %OS_VERSION% /fGray ( /s- /fYellow %LANG% /fGray )

:SkipLanguageData
vecho /p Done processing startup files /fCyan FDCONFIG.SYS /a7 and /fCyan AUTOEXEC.BAT /a7/p

rem if exist SETUP.BAT CALL SETUP.BAT BOOT

if not exist %DOSDIR%\BIN\WELCOME.BAT goto V8Welcome
call WELCOME.BAT
goto Done

:V8Welcome
set LANGFILE=FDSETUP\SETUP\%LANG%\FDSETUP.DEF
if not exist %LANGFILE% SET LANGFILE=%0
if not exist %DOSDIR%\BIN\HELP.EXE goto NoHelp
vecho /t %LANGFILE% AUTO_HELP HELP
vecho
:NoHelp
rem %AUTO_WELCOME% %OS_NAME% %OS_VERSION%
vecho /p %AUTO_WELCOME%  /fGreen " http://www.freedos.org"
vecho
set LANGFILE=

:Done
In the Autoexec I made some additional tweaks:
- Disabled setup
- Added the Qedit DOS editor
- Cleaned up setup path references
- Display message improvements
- Attempted to add GNU tools
You can eliminate the GNU reference in the path spec in autoexec.bat, it seems to have been compiled using Window libraries and won’t work. I left the reference a place holder in case I wanted to add some working DOS utilities later. I also attempted to run the SysInternals and Mingw linux tools, but ran into the same issue as GNU, they’re incompatible with DOS.
If you haven’t already done so, be sure to change the BIOS boot order to boot from the USB drive before your hard drive. You’ll need to figure out the magic key to press during boot. For mine it’s the Del key, other possibilities might be F1, F2, F8. You’ll need to check which key is specified by your BIOS manufacturer.
At this point you should be able to boot from your USB and flash the BIOS. I created a BIOS folder at the root (D:\BIOS) containing the latest image and vendors .EXE flashing program.
Before flashing, recall the warning above and be sure to read the documentation provided by the manufacturer. You’ll want to backup the existing code in the BIOS before you make any changes. There’s probably an option on the flash program to do this. If anything doesn’t work quite right on the new version this is how you’ll recover.
If you’ve followed this far you’ve probably successfully flashed your BIOS and consider this topic done. I hope you found the read interesting and rewarding!
After thoughts
When you’ve completed flashing a BIOS you may not need to repeat the process for several years or ever. You can recover your USB drive by creating an ISO image of the USB, which will be a snapshot of all the changes you’ve made.
To create an ISO image I installed gnome-disk-utility on my Raspberry Pi. Afterward, I performed the following:
- scp the ISO file from Raspberry Pi to windows
- Wipe the USB drive with SD Formatter
- Reimage using Balena Etcher
- Verify the new FreeDoS image
- Save the ISO file and wipe the USB
Mitch Dresdner
Mitch enjoys tinkering with tech across a wide range of disciplines. He loves learning new things and sharing his interests. His work interests run the gamut of: application integration, scalable secure clusters, embedded systems, and user interfaces. After hours you might find him dabbling in the hobby space with Raspberry Pi's, drones, photography, home wine making and other ferments.