We’ve explored Kubernetes in our laptop sandbox, lets take what we’ve learned and move it to the Google Cloud Platform (GCP).
In our recent post Getting started with Kubernetes, we went through a few examples of running Kubernetes applications in our laptop Docker sandbox environments. Lets take what we’ve learned so far and run the in the GCP.
To get started, log into the Google Cloud Console using your Google account. At the time of this writing, GCP gives your $300 in credit or a full year of free service, whichever comes first. When getting started, I would recommend using smaller virtual machines and stop your clusters when they’re not being used. If you leave a modest 3 VM cluster running it may cost you around $3 – $5 per day of your free $300 credit. Watch the daily billing and it will give you a better idea what your costs will be as you deploy production applications to the cloud.
It’s up to you to keep an eye on your billing. If you leave your clusters up and running for a few month or forget about them, it may burn through your credits and start charging you for services. If you don’t plan on using your services for a while, stop your cluster and make sure the billing stops over the next few days.
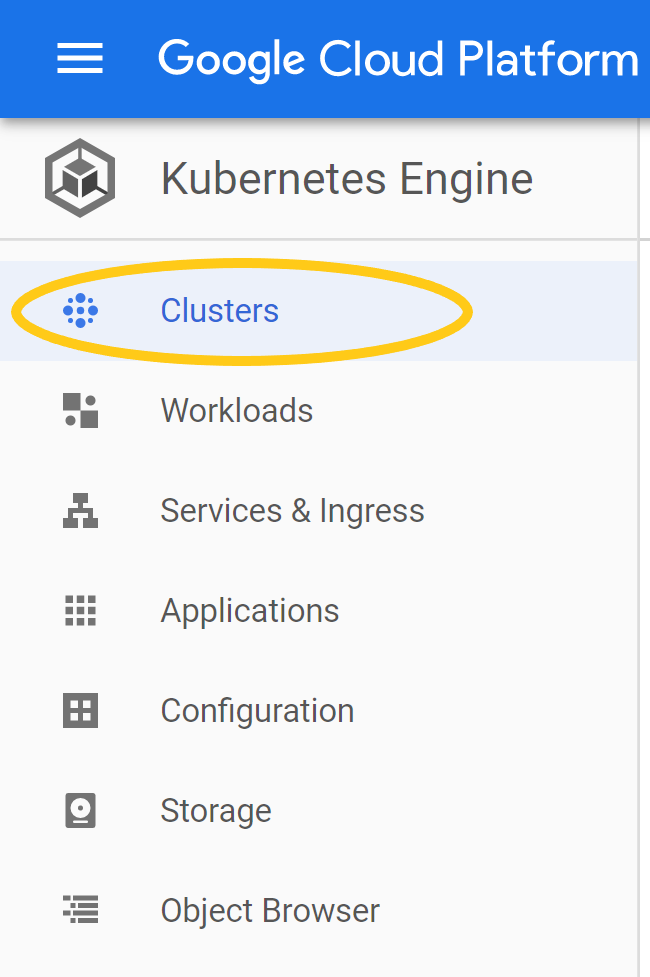
Begin by selecting the Clusters tab. In the center of the display we’re going to choose the Create cluster option.
I named my cluster: playing-with-kubernetes. Choose a Zone close to you and the default static GKE version.
Choose next on the cluster creation Tab.
In step 2 of 3 in the cluster creation tab we’re advised to review the Node Pools in the Left menu to configure security and metadata. We’ll be selecting defaults so click to advance to step 3 of 3. Step 3 advises us to review and possibly create a node pool. Pools are specialized configurations of nodes and node configurations. We won’t be creating different configurations in our example, but this is something you’ll want to go back and review when creating specialized deployments. Go ahead and click Done. We’ll be sticking with the defaults for these exercises so go ahead and click Create to begin the Cluster creation.
After about 5 – 10 minutes you should see that your cluster creation has completed. By default you should have a 3 node cluster running. Click on the cluster name and you’ll see the details about your cluster. The Nodes table will give you details about each node in the cluster.
While you can run a cloud shell from the browser, I find it clunky for all but running a few simple commands. Instead, go ahead and download the Cloud SDK Installer. Run the SDK install, when it completes you’ll be presented with a browser window when you’ll need to approve access by the SDK to your Google Cloud account.
After you’ve approved the access you can close the shell. Go back to your browser window and click the Clusters menu, next click on the cluster name. Click the Connect menu at the top, then click on the Copy button to copy the gcloud command-line access string to the clipboard. On your laptop open a new Google Cloud SDK shell and paste this line into it, run the command and it will initialize to use your cluster.
Verify the SDK shell can connect to cluster
$ kubectl version
Client Version: version.Info{Major:"1", Minor:"15", GitVersion:"v1.15.5", GitCommit:"20c265fef0741dd71a66480e35bd69f18351daea", GitTreeState:"clean", BuildDate:"2019-10-15T19:16:51Z", GoVersion:"go1.12.10", Compiler:"gc", Platform:"windows/amd64"}
Server Version: version.Info{Major:"1", Minor:"14+", GitVersion:"v1.14.10-gke.17", GitCommit:"bdceba0734835c6cb1acbd1c447caf17d8613b44", GitTreeState:"clean", BuildDate:"2020-01-17T23:10:13Z", GoVersion:"go1.12.12b4", Compiler:"gc", Platform:"linux/amd64"}
You should get back the client and server versions. Now you can deploy the service we created earlier in our Getting started with Kubernetes lesson.
Deploy our basic service
# deploy the image
$ kubectl create deployment basic-svc --image mitchd/basic-svc

# verify everything worked
$ kubectl get events
After our basic service has been deployed we’ll need to expose it to the outside world and open a port.
Expose service on port 8083
$ kubectl expose deployment basic-svc --type=LoadBalancer --port 8083
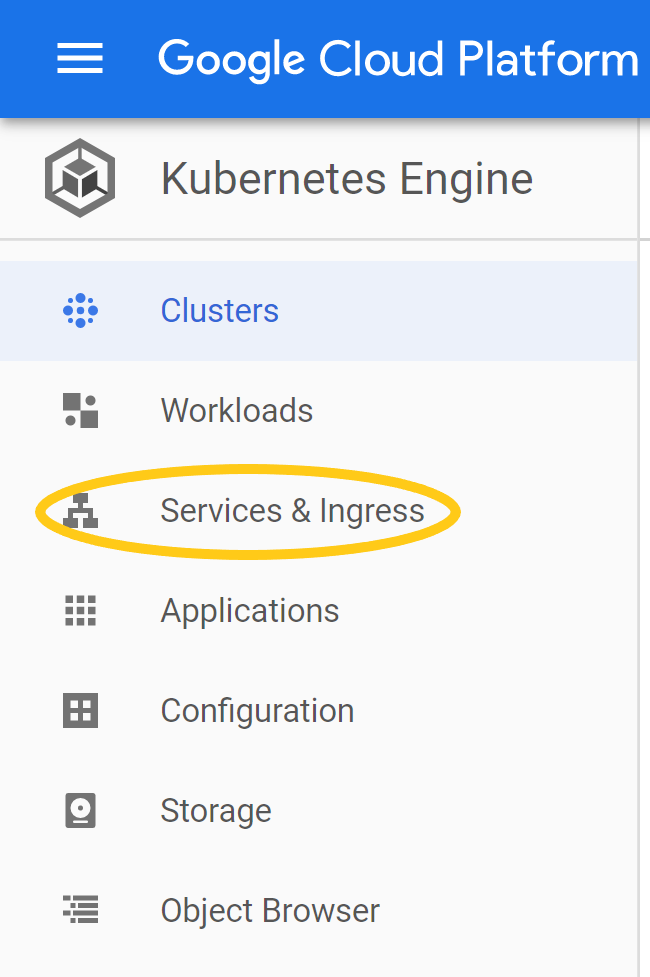
From the GCP menu select the Services & Ingress option to verify that the basic-svc is deployed and you’ll see the IP address that the Load Balancer is running on.
You should now be able to click on the load balancer link and invoke the health endpoint in the browser.
Now we can scale up our application and send some messages.
Scale our solution
# Scale up
kubectl scale deployment basic-svc --replicas 3

# Verify we have 3 pods running now
$ kubectl get pods
Now you can run httpie or curl sending to the load balancer and watch the results to see the IP address of the POD changing. Note: this may not work when using the browser, as the browser will tend to keep the TCP connection alive. Withe httpie and curl you get a new TCP connection each time.
# send message to our cluster
$ http <cluster-address>:8083/health
HTTP/1.1 200 OK
Content-Length: 66
Content-Type: application/json
Date: Sun, 01 Mar 2020 21:30:01 GMT

{
    "Hostname": "basic-svc-599c64c6b9-9hmzn",
    "IpAddress": "10.24.5.11"
}

$ http <cluster-address>:8083/health
HTTP/1.1 200 OK
Content-Length: 66
Content-Type: application/json
Date: Sun, 01 Mar 2020 21:30:07 GMT

{
    "Hostname": "basic-svc-599c64c6b9-9hmzn",
    "IpAddress": "10.24.5.12"
}

$ http <cluster-address>:8083/health
HTTP/1.1 200 OK
Content-Length: 66
Content-Type: application/json
Date: Sun, 01 Mar 2020 21:30:11 GMT

{
    "Hostname": "basic-svc-599c64c6b9-9hmzn",
    "IpAddress": "10.24.5.5"
}
With our successful deployment to the Google Cloud you can get a better feel for how to get around and play more with your deployment. You may want to go through the rest of the commands we played with in our Getting started with Kubernetes lesson to verify everything works the same.
When you’re done be sure to clean up your environment to stop incurring charges.
Cleanup
# to delete deployment
$ kubectl delete service basic-svc

# Delete deployment
$ kubectl delete deployment basic-svc
When done, be sure to Delete your cluster and verify it has been deleted using the Cloud Console browser window.
Mitch Dresdner
Mitch enjoys tinkering with tech across a wide range of disciplines. He loves learning new things and sharing his interests. His work interests run the gamut of: application integration, scalable secure clusters, embedded systems, and user interfaces. After hours you might find him dabbling in the hobby space with Raspberry Pi's, drones, photography, home wine making and other ferments.